3 Tips To Make Your Table Stand Out At Art Fairs
- Clementine Illustrations
- Nov 14, 2022
- 4 min read
Updated: Nov 15, 2022
In some of my previous posts from the Art Fair Category, I've mentioned how important it is to make your booth look as amazing as possible. This is one of the most essential steps for attracting customers at Art Fairs! A great display can elevate your product and grab people's attention from afar.

I would be sharing some of the most effective (in my humble opinion) techniques, which are also techniques I personally apply!
1. Colour
The first thing someone would notice is colour- it is the easiest way to create visual impact! Utilise your brand colour to make your table look cohesive. You could do this using a table cloth in your colour, a banner, or even paint your fixtures and decorations in the same colour.
An extra bonus would be if you have t
he opportunity to plan even the products to colour-match.
Of course, more than one colour could be used to represent your booth, but it would be best if you choose a dominant one! The more places you implement your dominant colour, the bigger impact you could have.
*Having way too many textures, shapes, colours etc could make your display look messy.

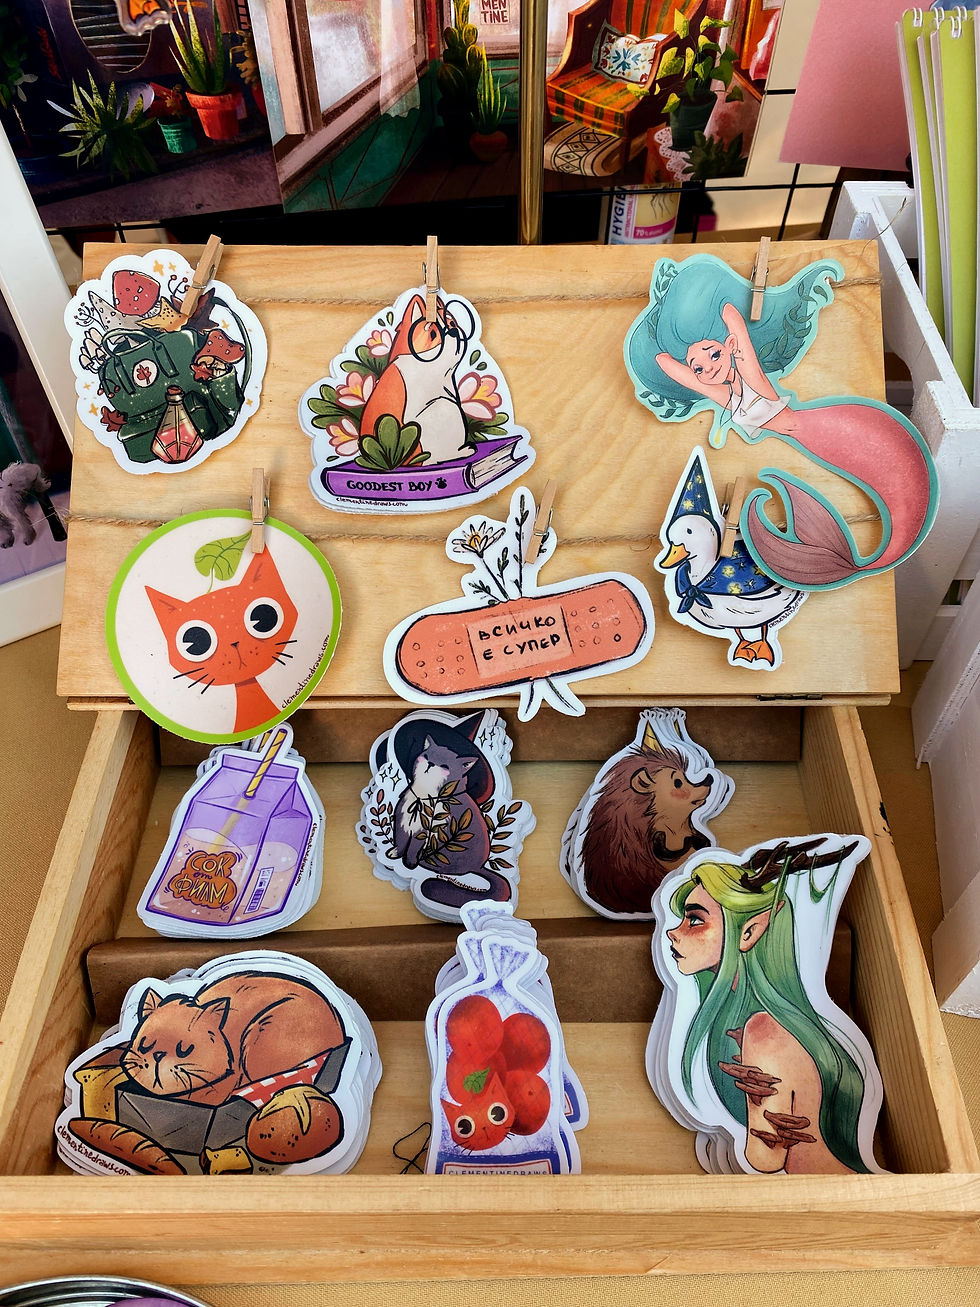
For my brand colours, I use green and a yellow/orange shade. The latter is my dominant, which I use for my table cloth too, and my wooden crates and fixtures match in colour without even having to paint them.
2. Product Collections (or Groupings)
Organizing your products into collections makes it easier for the customers eyes to navigate through your display. Having everything flat and everyone with zero logic behind would be just confusing to look at.
If you haven't planned any collections, you could still group your products by theme or type, whatever type of category works for your craft. If it is soaps, you could group them by colour, or type of scents. For example you could make a grouping of citrus-scented items.
Type of categories you could work with:
Pattern
Texture
Colour
Size
Purpose
Scent
Type of products
Shape
aaaand many more...
I usually organize my products by type.
I would have prints showcased on vertical space, stickers grouped up together in some sort of organizer or a wooden box, clothing on a rail next to my table, and types of pins on a separate organizer on top of my table.
This is an example of Mano de Ana 's table at an Art fair. You can clearly see the groupings she has created to help you navigate through her products. The negative space in between allows the display to breathe and everything looks tidy and cohesive.
You can test out different ways to group your products at home, before a market. Use your dining table and try splitting your items into different categories you think would look nice when displayed. Make sure there aren't too many grouping - 3 to 5 would be optimal. The result should be an eye-catching effect, that doesn't look messy or confusing, we are looking for some sort of cohesion.
3. Negative space
For someone like me, who has the tendency to clutter my table, learning how to use and navigate negative in order to make my display more elevated and tidy, was (and still is!) quite the task.
In this example, NULA - a brand for handcrafted jewellery- is very effectively using negative space. It works brilliantly with the delicate nature of her creations and gives them an even more elevated look. You can easily navigate through the different groupings, and there are pops of colour that complement the categories and negative spaces.
Negative space is the empty space your would leave in between your groupings - that would help the eye to separate and understand that your items are actually split into different collections.
Product groupings should not bleed into each other, it should be obvious that they belong into separate categories.
*Cluttered space could decrease the perceived value of your products!
Think about it- if you approach a jewellery stand for example. If there is a bracelet, displayed separately in its own stand, or under a glass case- you would feel different about it if it is crammed altogether with all the other bracelets. The first option makes it look much more expensive and drives your attention towards it. You could use the same techniques to show your customers your more luxurious items by displaying them in a special way.
If you have a wide variety of a particular product, for example, something that comes in dozens of different patterns, displaying all of the variations could be nearly impossible without making your table look like a mess. In that case, you have other options:
Display all the variations in a basket or a bin, if the product allows it
Or have 1-3 display-only items and the rest behind your table. Then use your communication and sales skills to let customers know that there are more patterns available and show them what you've got.
If your display still looks messy, consider eliminating a certain product, and creating a stock area. You could show the "eliminated" products if something else sells out, or offer to show them to a customer you think could be interested.

Conclusion
Creating a visually pleasing and cohesive display should be a main priority when getting ready for an Art Fair. You could practice your arrangement at home to determine your groupings, colours and negative spaces in order to be prepared when you arrive at the fair. You could save some nerves too, and avoid getting overwhelmed with the limited time you have to put your booth together.
I hope my tips have been useful to you! Don't forget to check out the other articles concerning Art Fairs! Good luck!


Comentarios